Why Your Canva Designs Look Great… Until They Don’t
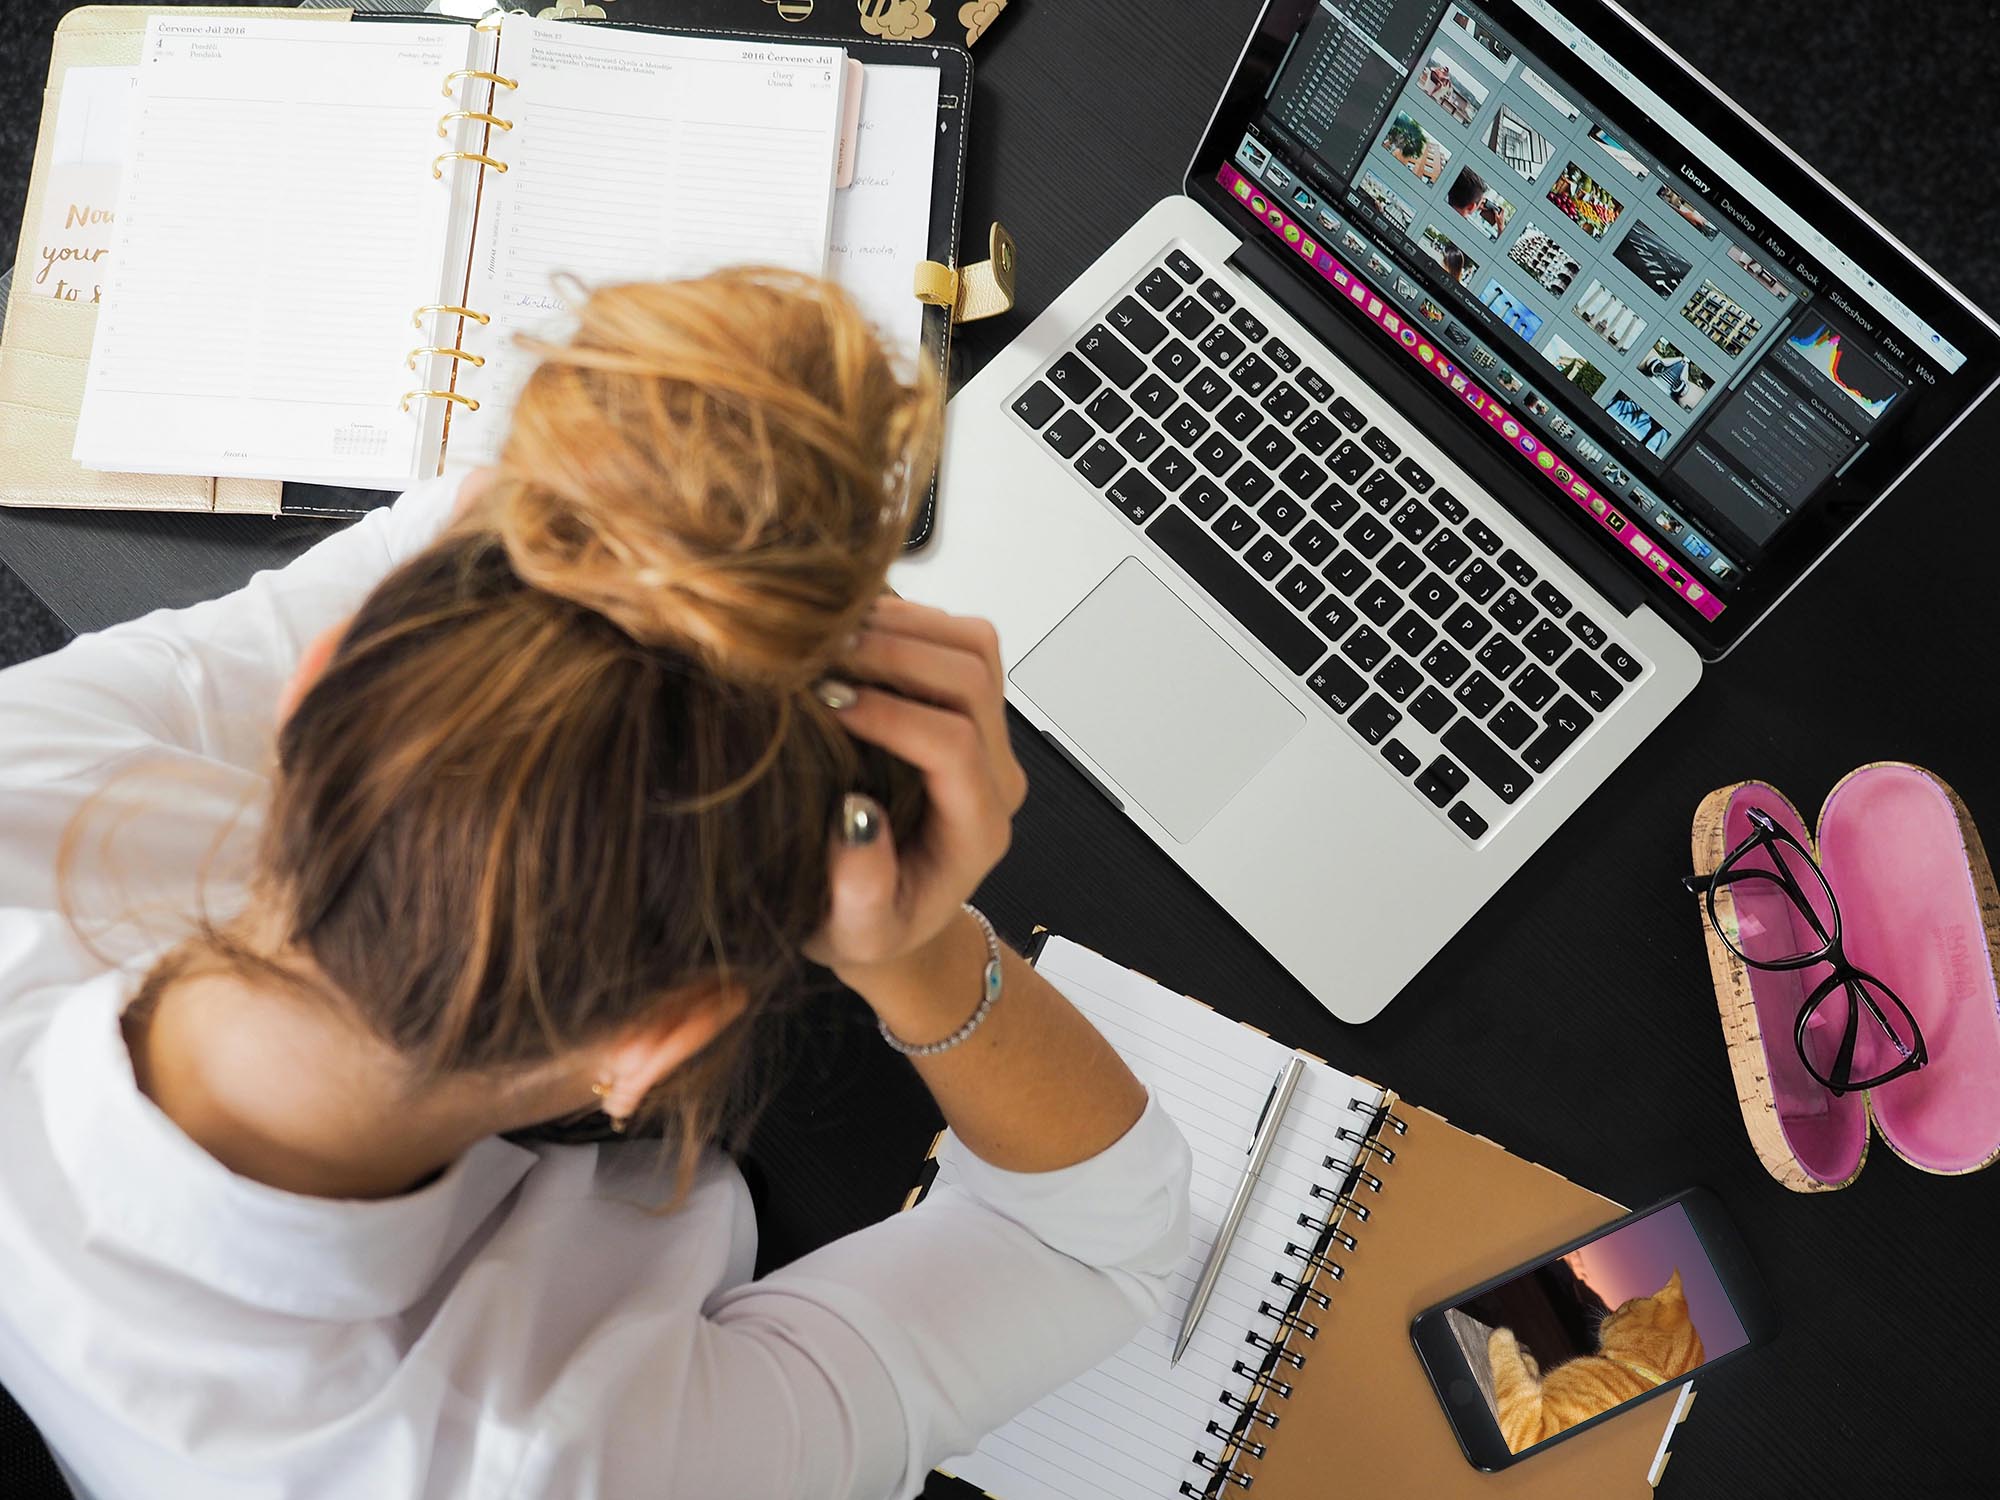
You open Canva.
You choose a template.
You start designing.
And honestly? It looks good. Really good.
The fonts feel sharp. The layout feels balanced. The colours glow exactly the way you imagined. On your screen, everything looks polished and professional.
Then you export it.
And something shifts.
Maybe the image feels slightly blurry. The text might doesn’t look as crisp anymore. Maybe you send it to print and the final result looks softer – flatter – not quite what you created inside the editor.
If you’ve ever searched for “Canva blurry after export,” online you’re not alone.
In fact, this is one of the most common Canva frustrations – and almost nobody explains it clearly.
So let’s fix that.
Because this isn’t a talent issue. It isn’t a “you missed something obvious” issue.
It’s a clarity issue.
And once you understand what’s happening behind the scenes, the problem stops feeling mysterious… and starts feeling fixable.
The Real Reason Canva Designs Lose Quality (Explained Simply)
Let’s start with something familiar.
Think about a photo on your phone.
On your screen, it looks beautiful – sharp, bright, full of detail. However, if you tried to stretch that same image across a billboard, something would change. The edges would soften. The details would blur. The image would simply stop holding up.
That doesn’t mean the photo was bad.
It means it wasn’t created for that size.
The same principle applies to Canva.
Canva is built primarily for screen-based design – social media graphics, presentations, PDFs, digital downloads. In those environments, designs can look incredibly polished. Screens are forgiving. They smooth out tiny imperfections and hide limitations you’d never notice while working.
However, exporting changes the environment completely.
The moment you download a design, Canva locks it into a fixed file format. At that point, resolution, dimensions, and compression begin to matter in ways they didn’t inside the editor.
Here’s the key concept, explained simply:
Most Canva designs rely on raster images – which means they’re made up of tiny squares called pixels. (If you’d like a simple explanation of the difference between raster and vector graphics – and why that matters for print – we break that down clearly in our guide to raster vs vector for Canva users.) When those pixels are displayed at their intended size, everything looks crisp. However, when the image is enlarged beyond its original dimensions, those pixels stretch. As a result, sharp edges soften and fine details disappear.
In addition, Canva compresses files during export to keep downloads fast and manageable. That compression helps millions of users share content easily. However, it can reduce subtle detail – especially when a design is headed for print.
This is why people often say:
“It looked fine in Canva, but blurry when I downloaded it.”
“The print shop says the resolution is too low.”
“Why does it look worse after exporting?”
These outcomes are not beginner mistakes. They are natural results of how digital design works.
In other words, Canva didn’t suddenly sabotage your design.
The file simply wasn’t prepared for the next stage of its journey.
And once you understand that, everything starts to feel calmer.
Why Canva Looks Fine in the Editor – But Ends Up Blurry After Export
Here’s where the confusion usually begins.
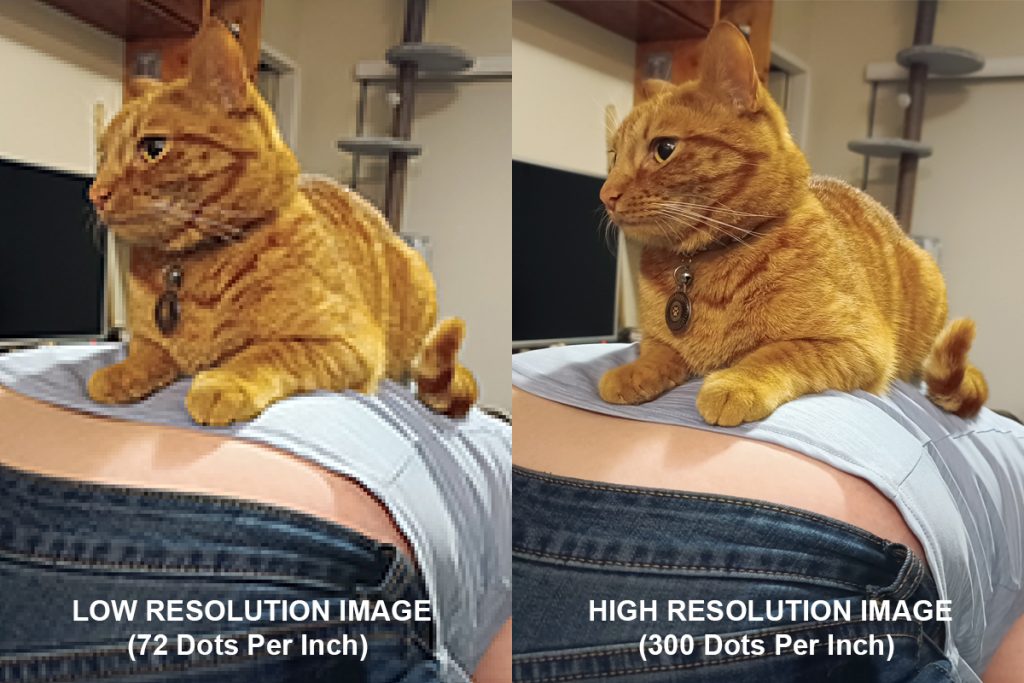
Inside the Canva editor, what you’re seeing is a preview optimised for your screen. Your laptop, phone, or tablet displays designs at screen resolution – typically around 72 to 96 DPI. At that resolution, designs look crisp, balanced, and vibrant.
For digital viewing, that’s perfect.
However, print operates under a completely different standard. And this “Canva blurry after export” issue usually comes down to resolution differences…
Most professional printing requires 300 DPI – this is an industry standard. That number isn’t arbitrary – it represents how much visual information must be packed into each inch of the final output to appear sharp in the real world.
And this is where the shift happens.
If your design was created at social media dimensions, or if the images inside it were uploaded at screen resolution, the file simply does not contain enough data to meet print requirements. Therefore, when you export your Canva design for print, it may look blurry or soft – not because Canva failed, but because the design was built for a different environment.
In other words, the Canva editor is showing you a version optimised for screens. The printer, on the other hand, is evaluating the actual resolution of the file itself.
Those are two very different conversations.
This explains why something can look flawless in Canva, yet trigger a “low resolution” warning from a print shop. The file isn’t broken. It’s just being asked to deliver more detail than it currently holds.
Once you understand that distinction – screen resolution versus print resolution – the mystery disappears.
It becomes a preparation issue, not a quality issue.
And preparation is something you can control.
Common Canva Export Mistakes (That Almost Everyone Makes)
Now that we understand the resolution shift, let’s look at where most Canva export problems quietly begin.
Many “Canva blurry after export” problems don’t start with bad design. They start with default export settings.
Canva is intentionally built for speed and accessibility. It guides users toward quick downloads, preset sizes, and simplified options. That ease is part of what makes it powerful. It should be noted that convenience settings are chosen for flexibility – not always for precision.
For example, exporting with the default file type may work beautifully for Instagram or email. However, that same file type can struggle when sent to a professional printer. PNG files are excellent for digital use. Print-ready PDFs, on the other hand, are often better suited for physical output. Canva doesn’t always explain this difference clearly, especially if you’re new to exporting for multiple purposes.
Another common issue is resizing after export.
A design gets downloaded at one size, then stretched in another program to fit a larger format. At that point, the resolution has already been set. The file cannot magically gain detail it never contained. As a result, sharpness drops – and frustration rises.
Designing at the wrong size from the beginning is another quiet culprit. Social media dimensions are frequently reused for flyers or posters because they “look fine” on screen. When scaled for print, though, the gap in resolution becomes obvious.
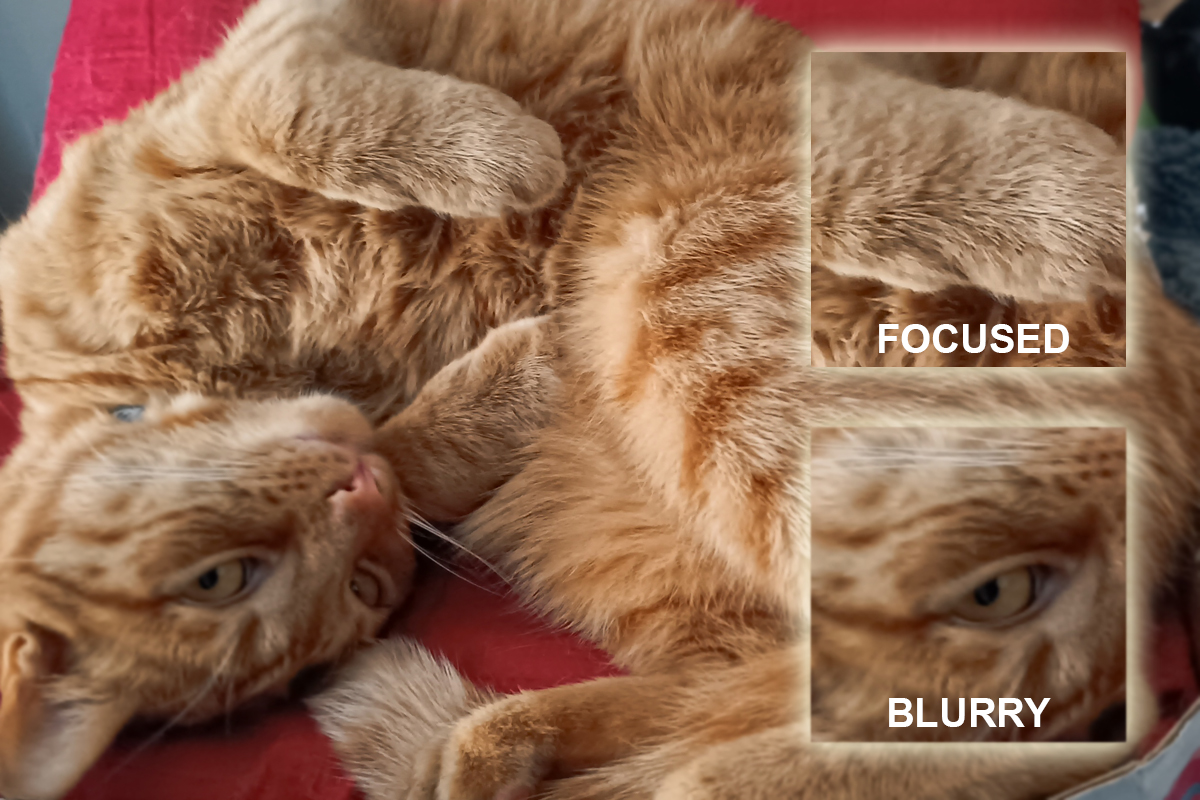
And then there’s image quality itself.
Sometimes the layout is perfect, but one photo inside the design was uploaded at a lower resolution. Inside Canva, it blends in seamlessly. After export – especially for print – that single image becomes the weak link.
None of these are skill failures.
They are predictable outcomes of using a tool designed to make creation feel effortless.
Once you recognise these patterns, something shifts. Instead of wondering why your Canva design looks blurry after export, you begin asking a better question:
Was this file prepared for where it’s going next?
That question alone elevates your entire workflow.
When Canva Is Enough (And Works Beautifully)
Here’s something important – and it’s worth saying clearly:
Canva is not the enemy.
In fact, for many projects, Canva is more than enough.
If you’re creating social media posts, on-screen graphics, presentations, worksheets, lead magnets, or small digital assets meant to be viewed on devices, Canva can be an excellent choice. It’s fast, intuitive, and capable of producing designs that look polished and professional in those contexts.
For content that lives primarily on screens, Canva does exactly what it’s meant to do. You don’t need advanced tools. You don’t need complex workflows. You don’t need to overthink it.
And you definitely don’t need to feel like you’re “doing it wrong” just because you’re using an accessible platform.
You don’t need better tools for every project.
Knowing when Canva is enough is just as important as knowing when it isn’t. That discernment – not the software itself – is what separates frustration from confidence.
And once that line becomes clear, choosing the right next step stops feeling like guesswork.
When Canva Isn’t Enough (And Why That’s Not a Problem)
However, there comes a moment when the job changes.
Usually, that moment is print.
Flyers, posters, packaging, signage – anything that exists in the physical world demands more precision. Resolution becomes non-negotiable. Colour accuracy becomes important. File structure begins to matter in ways that weren’t visible inside the editor.
Large formats amplify this even further. A design that looks crisp at A4 can soften dramatically when scaled to a banner. Text that felt sharp on screen may lose its edge when viewed up close in print.
Logos are another turning point.
Brand assets need to work everywhere – small, large, monochrome, colour, digital, print. They need to scale infinitely without losing clarity. In these situations, vector formats become essential. Canva can help you explore logo ideas; however, final brand assets often require preparation beyond Canva’s default export capabilities.
This is not a criticism of Canva.
It is a recognition of scope.
Every tool has a primary purpose. Canva prioritises accessibility and speed. Professional print workflows prioritise precision and control. When those priorities diverge, friction appears.
And that friction is not failure.
It is progression. And the good news is that most “Canva blurry after export” issues are fixable without redesigning everything.
At this stage, Canva often becomes Version 1 – the place where ideas take shape, layouts form, and creativity flows easily. From there, a finishing stage prepares the design for its final destination.
That finishing stage doesn’t diminish your work.
It elevates it.
Recognising when a design has outgrown its starting tool is not a sign that you lack skill. It is a sign that your project is expanding.
And expansion is a good problem to have.
What Actually Fixes Canva Quality Issues (Without Starting Over)
Here’s the part that surprises most people:
Fixing Canva quality issues rarely means redesigning everything.
In fact, in most cases, the design itself is not the problem. The layout works. The typography is solid. The visual balance feels right. What’s missing isn’t creativity – it’s preparation.
Quality breakdowns usually happen at the export stage.
When someone says their Canva design looks blurry after export, what they’re often experiencing is a mismatch between how the file was prepared and where it’s going next. A design built at screen resolution cannot suddenly behave like a high-resolution print file. A PNG intended for digital use cannot automatically function like a press-ready PDF.
However, the good news is this: those mismatches are fixable.
Sometimes the fix is as simple as exporting the correct file type for the intended use. Other times, it means setting the correct dimensions from the beginning so the design contains enough visual information to scale properly. In print scenarios, selecting a PDF format designed for professional output can dramatically improve Canva print quality without altering the layout at all. (If you want a step-by-step walkthrough of exactly which Canva export settings to use for print, we’ve explained that in detail in our guide to Canva export settings explained (and how to fix them).
Images are another key factor. A single low-resolution photo can quietly weaken an entire design. Replacing that image with a higher-resolution version often restores clarity instantly – no redesign required.
And then there is what I call the finishing stage.
Finishing is the calm, deliberate step between “design complete” and “ready for the real world.” It may involve tightening alignment, verifying resolution, adjusting colour handling, or preparing the file so it behaves predictably when shared with a printer or collaborator.
Think of Canva as the kitchen.
You’ve assembled the ingredients. You’ve cooked the meal. It looks and smells wonderful.
Finishing is plating it properly.
The dish was always good. It simply needed preparation for its final presentation.
Once you separate design from preparation, quality stops feeling mysterious. It becomes a series of informed decisions instead of a frustrating guessing game.
And informed decisions are empowering.

The Calm Takeaway
If your Canva design has ever looked perfect in the editor but land up blurry after export, remember this…:
Nothing is wrong with you.
Canva is doing exactly what it was designed to do – help people create quickly, confidently, and without technical overwhelm. It excels at digital-first design. It lowers the barrier to creativity. It invites experimentation.
When quality issues appear, they are not a verdict on your skill.
They are a signal.
A signal that the output requirements changed. A signal that the design is moving from one environment to another. A signal that preparation now matters more than convenience.
And that signal is useful.
Because it means your work is growing.
You do not need to throw your design away.
You do not need to abandon Canva.
You do not need to become a technical expert overnight.
You need clarity about what the file is being asked to do next.
That clarity is learnable. It is practical. And it is far less complicated than it initially feels.
In the next article, we’ll walk through exactly how to export Canva designs for print without losing quality – step by step, calmly, and without overwhelm – so your work looks just as strong in the real world as it does on your screen.
Because good design deserves a confident finish.